A complete guide for DIY Standing Desk
4 min read
A DIY standing desk can be a good choice if you want a cheap one but one that is also reliable. There are many different designs and materials to choose from so finding the perfect one for your needs is not going to be difficult.
There are basically two ways of making a DIY standing desk: using an old table or building something new from scratch. If you already have an old table that you no longer want, then it is a good idea to convert the table into a standing desk. You can do this by getting some perforated steel and placing it under the tabletop. It will make your desk more steady and prevent rugs from slipping. Another great material for a DIY standing desk is hardwood plywood. It is two or more sheets of wood that are glued and pressed together. This kind of material is usually water-resistant and you can stain it easily to match with your current desk décor.
Table of Content
- Select standing desk component
- Cut the tabletop
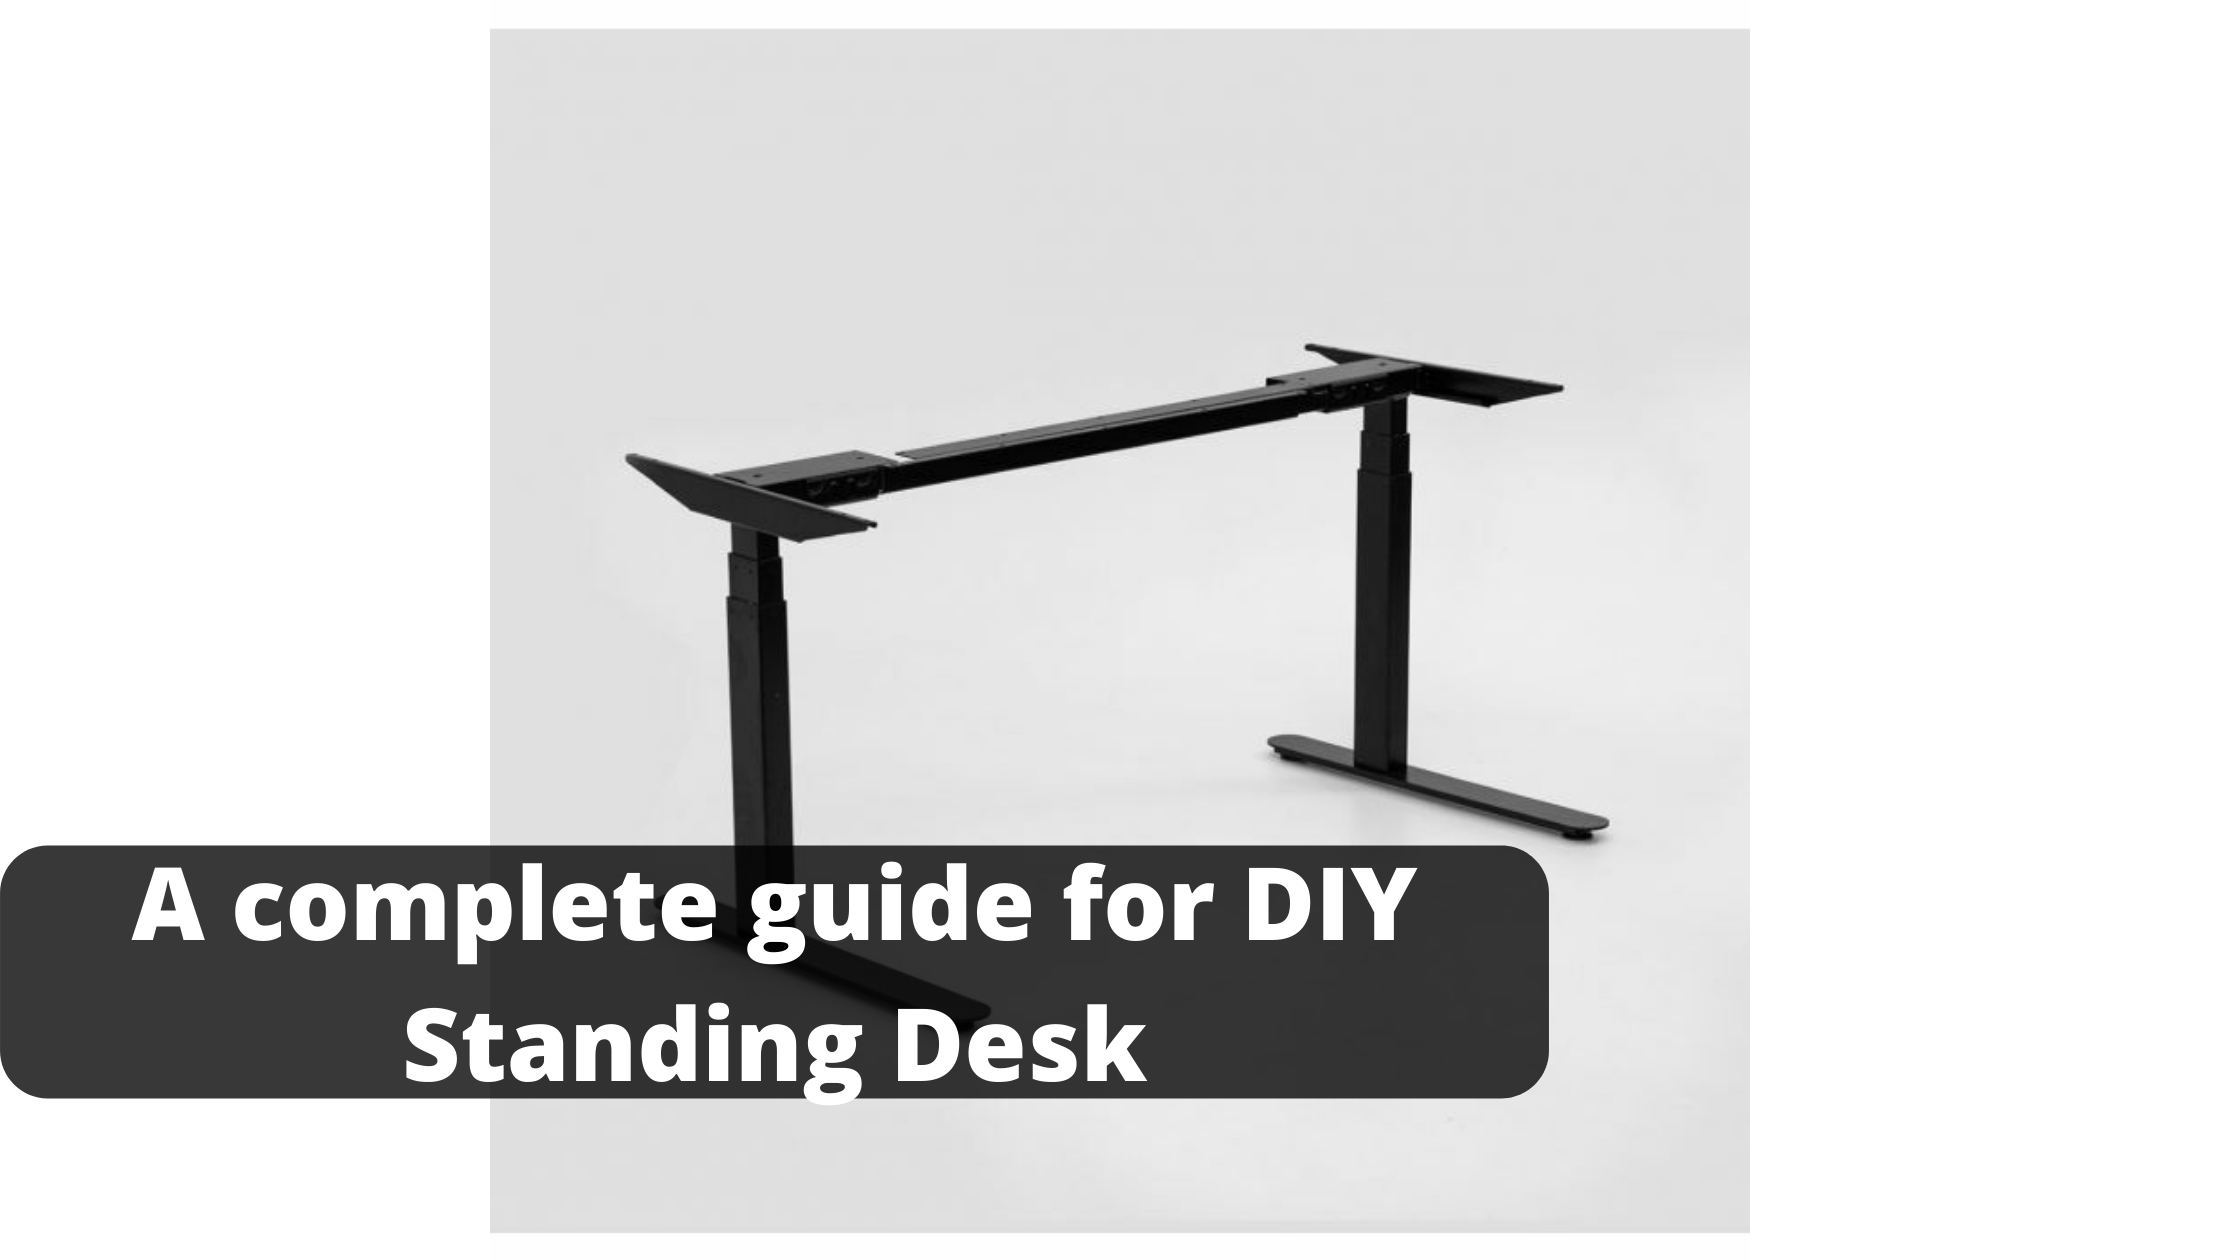
- Assemble the tabletop frame
- Build a frame for your DIY standing desk
- Assemble the components for your DIY standing desk
- bottomline
Select standing desk component
The design of your standing desk will depend on the material that you are using. An old table would need some support at the bottom because it is probably unstable. Plywood sheets won't require any additional supports but you should still be careful not to overload them.
Measure and mark dimensions of the tabletop
You can always use a pencil to make marks on the plywood sheets. You will need to measure the size of your desk and then mark it on the plywood. However, it is not that easy to cut a piece of wood with just a pencil line so you should use either a laser level or an additional T-square if you have one in your workshop.
Cut the tabletop
You can cut the plywood using a circular saw if you have one available. It will be easier to handle and it will also do less noise than a jigsaw or an electric hand planer. Make sure that your cuts are on the line so that you don't need to sand too much afterward.
Assemble the tabletop frame
You will need to take metal tubing for the tabletop frame. If you don't have any, then you can try plumbing or electrical supplies. You can also ask a carpenter for some metal tubes that they don't use anymore. Cut the tubes so that they match the length of your plywood sheets and attach them together using clamps. Drill two holes at the end of the frame and use screws to secure them.
Build a frame for your DIY standing desk
The metal tubing frame will sit on top of the legs that you have already made for your standing desk. You should cut some 2" X 4" boards into smaller pieces according to your height measurements. They are going to serve as legs and you should cut the ends in a way that they are angled. Make sure that you clean up all sawdust from your desk components before assembling them into a DIY standing desk.
Assemble the components for your DIY standing desk
You can take some 2" X 4" boards to make a frame where your metal tubing is going to rest on. You should build a rectangular frame and use clamps so that it becomes really sturdy. Drill two holes at each side of the frame and secure them with screws. Make sure that you leave around a 1" gap between the legs so your plywood sheets can fit snugly inside.
bottomline
While a DIY standing desk can be a cheap option, you should still make sure that you choose your materials wisely. Plywood sheets are better than old tables but both of them can work as a standing desk if you assemble the components correctly.